
Introduction
Where can you use a bot
- Bots can be used to make FAQs more interesting - employees or customers can simply ask their questions and get answers.
- Searching for answer in knowledge base articles or Company Policies can be a time consuming exercise, now with bots this process can be far more engaging for the end user. Usually departments such as Human Resources or Legal are getting many questions as users might find it hard to find the right answer. In those cases utilising bots can free up time but also give us the Business Intelligence we need to improve the process. For example, knowing the commonly asked questions (e.g. questions related to payroll, annual leave, maternity or paternity policies) will allow those departments to be proactive in communicating that material to employees.
- In retail scenarios we can have customers asking about product availability, prices or even delivery dates.
- In manufacturing, a popular use case is searching for spare parts, where in the warehouse are they located, how many of those items are currently available etc.
- Customer Service scenarios are also really common for bots. Giving the ability to our customers to ask about the products they bought, raise tickets, check the progress for those tickets and much more.
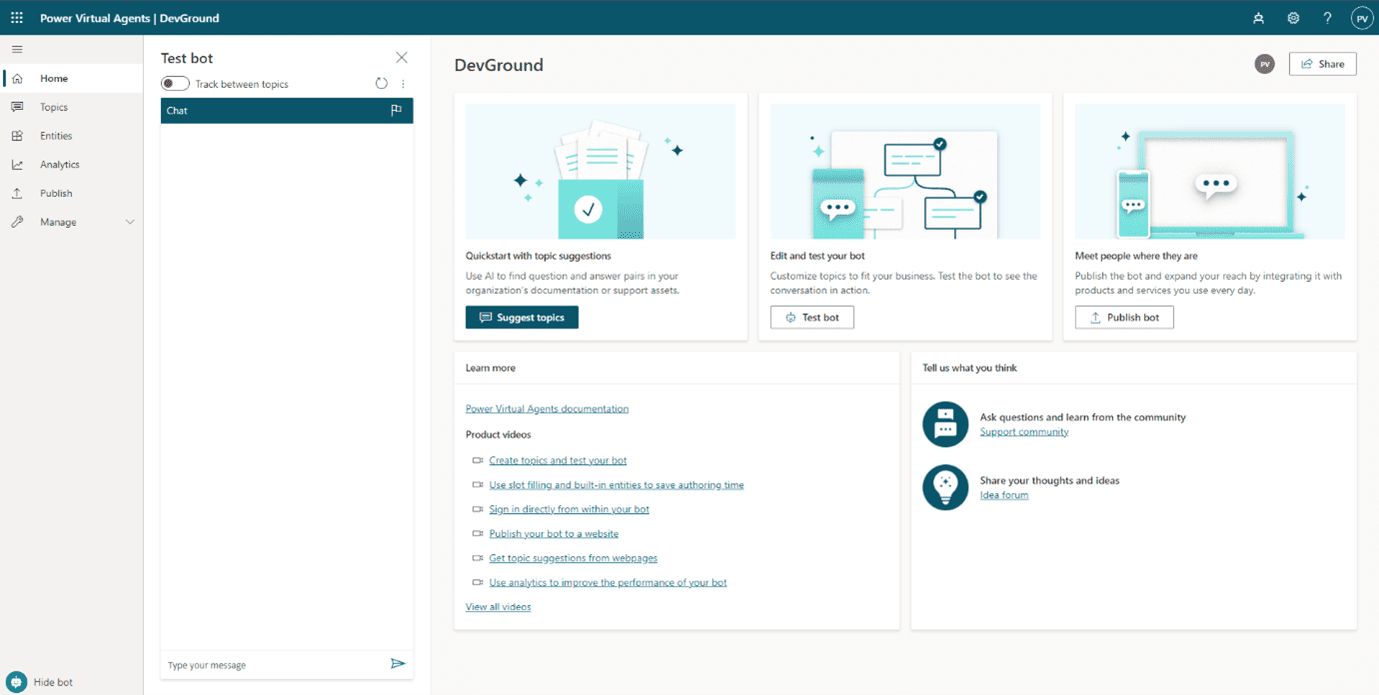
Navigation
Before we jump on to build our first bot, let us have a look around the platform and understand better what PVA has to offer.
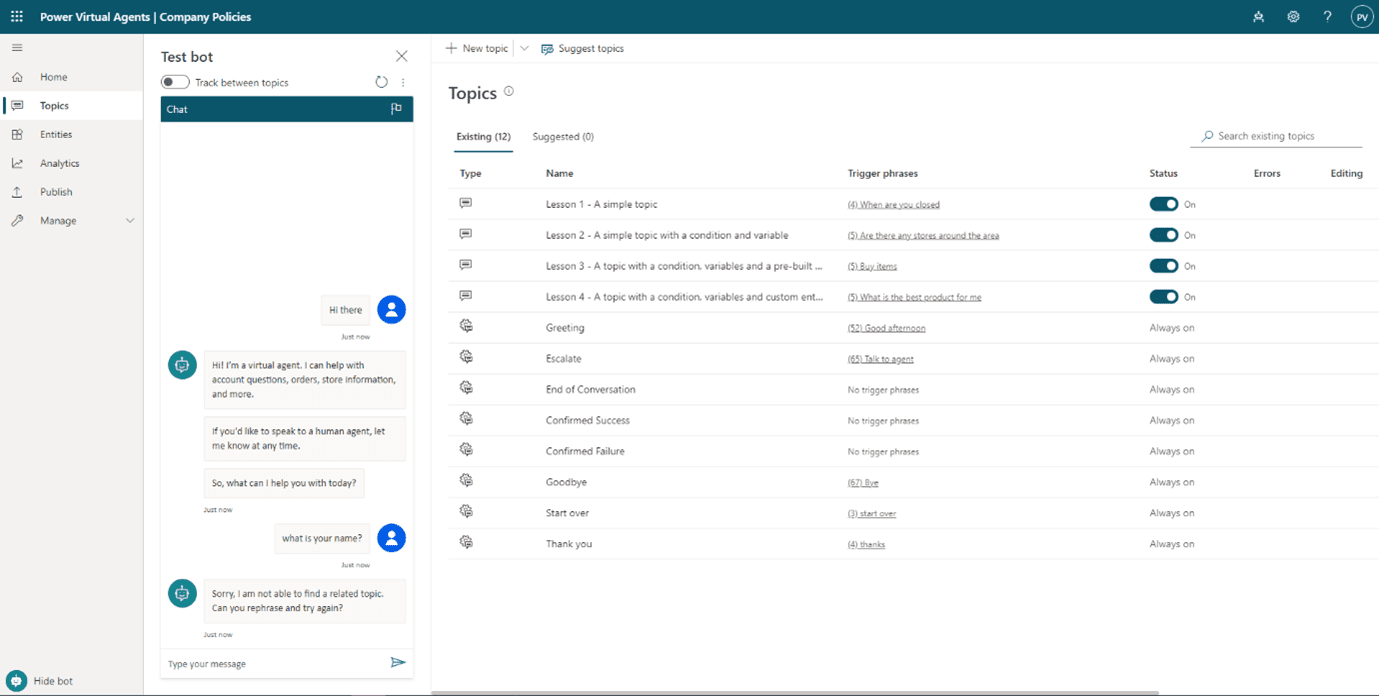
Topics
Topics is literally the brain of PVA, they are the way we train and enrich our bot. As you can see in the image below I have been playing around with my test bot. We started with saying "Hi there" and the bot recognised that it was a "Greeting" it went to the respective topic (see also in the image below) and retrieved an answer, which was eventually displayed to the end user. However, when we asked the bot "what is your name?" the bot couldn’t find an answer, simply because we haven't trained it to know how to answer this type of question.
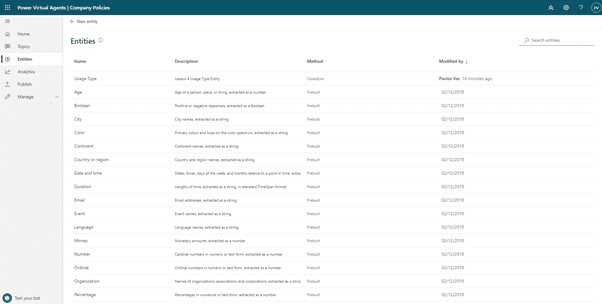
Entities
Another great way to educate further your bot is by utilising Entities. Entities allow your bot to become more familiar in understanding natural languages and in essence they allow the bot to understand the real intent of a user. By using entities our bot has the ability to pick up valuable information when chatting with a user. For example our bot has the ability to understand that "red" is a "colour" and use that information later on in its conversation with the user.
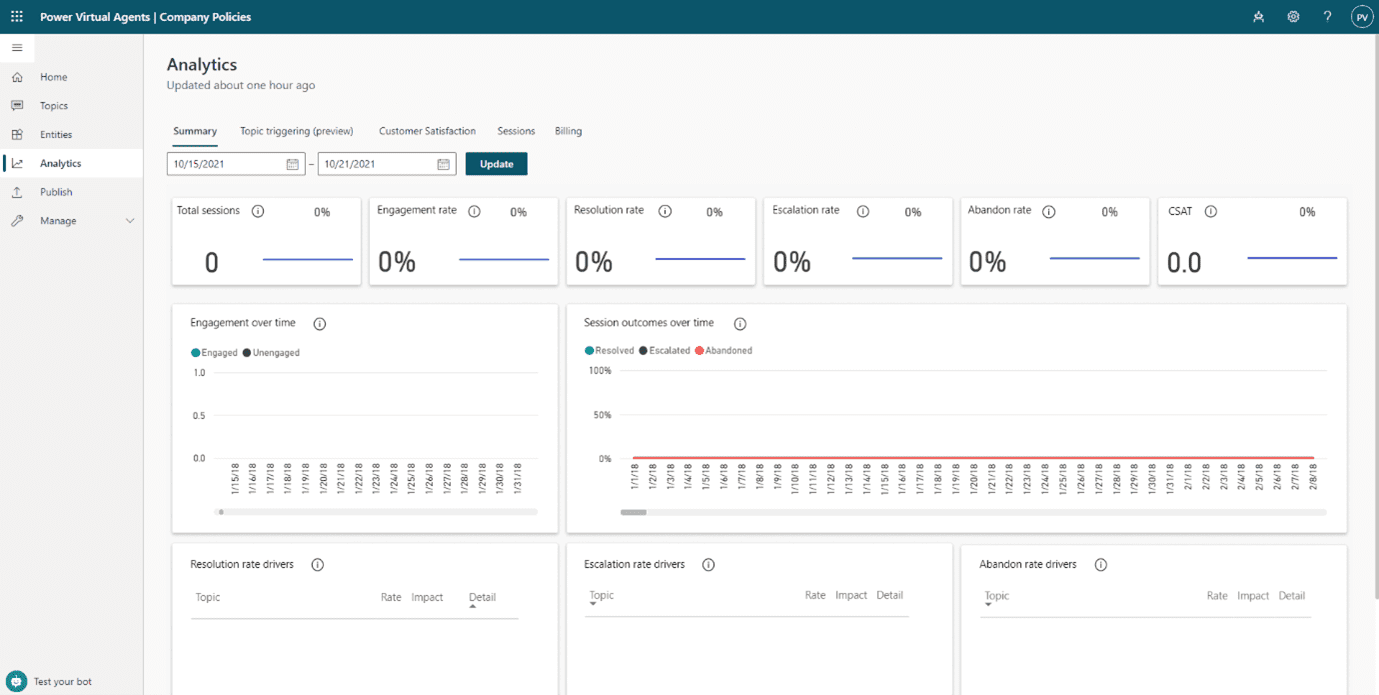
Analytics
PVA comes with a very strong Business Intelligence tool based on Microsoft PowerBI (another product in the Microsoft Power Platform suite). Although our dashboard is empty at this point in time, we will come back here later on to investigate how we can further enhance our bot in order to improve customer satisfaction. At this point in time we suggest you simply check the tabs within the Analytics area and familiarise yourself with what is available.
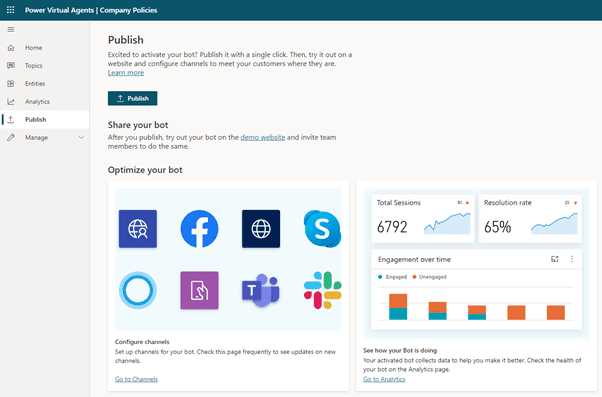
Publish
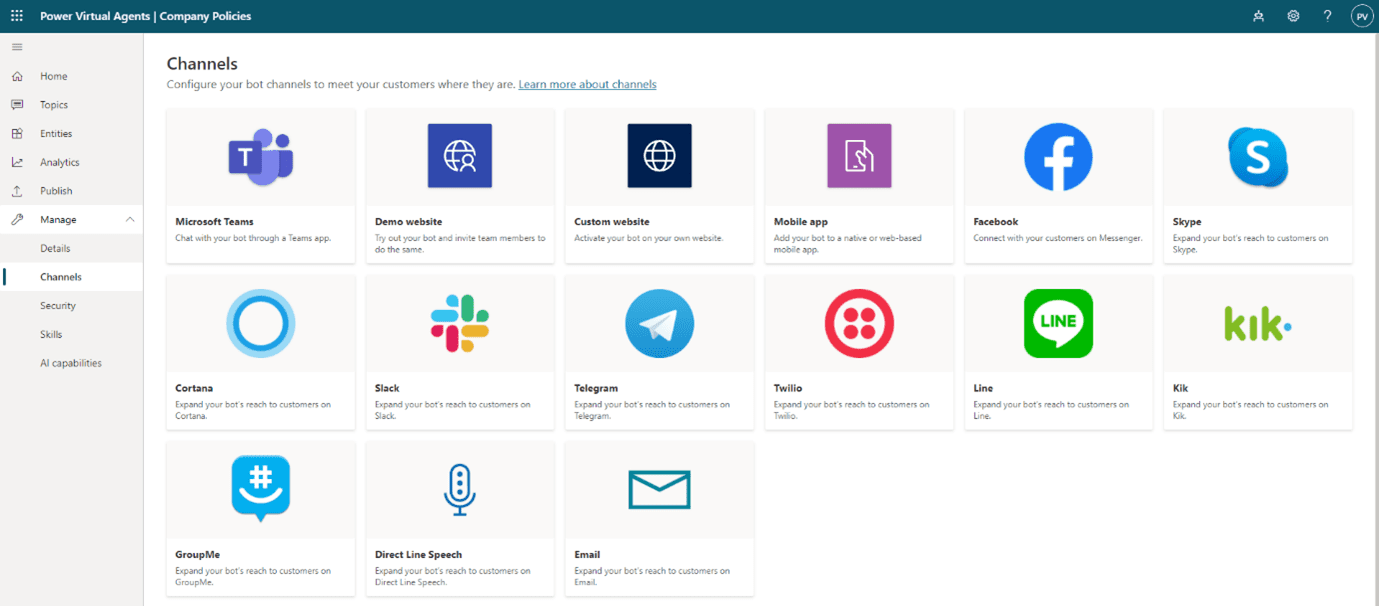
Publish gives you the ability to deploy your bot and make it available to the public. A nice way to test your bot and see it in action is the "demo website" option as you can see below in the image. We will dive into this area in a future blog but for now we suggest you click on the channels and see where you can potentially deploy your bot.
Manage Section
In the Manage section you will find some more advanced areas for your bot. For now we won't touch this area so if you like just navigate around to get familiar and we will come back to this later on.
Let's Get Started
Enough with the navigation, let's get started with building our very first bot. As this is our first blog in the PVA blog series we will start with a relatively simple scenario. We will be creating a "Company Policies" bot which will be helping users to check their annual leave allowance. An important point here is that we are more focused in this blog to help you get familiar with Power Virtual Agents and not actually building a fully scaled bot.
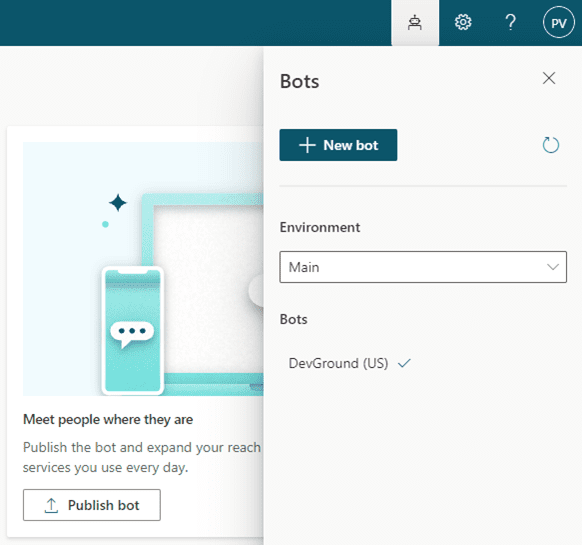
Click on the Bots Panel and then click on New Bot.
In the pop up that will appear give your bot a name, select a language and of course choose the environment where you want it to be deployed.
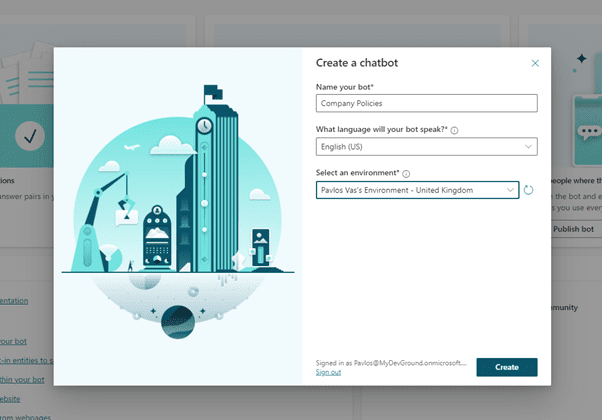
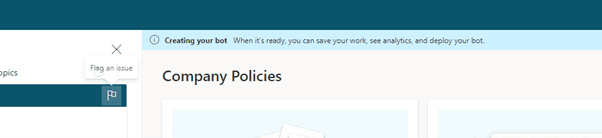
Once you click on create, PVA will go and start setting up your bot.
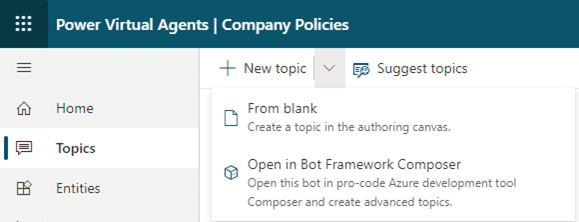
Now let's navigate to Topics and create one "From blank"
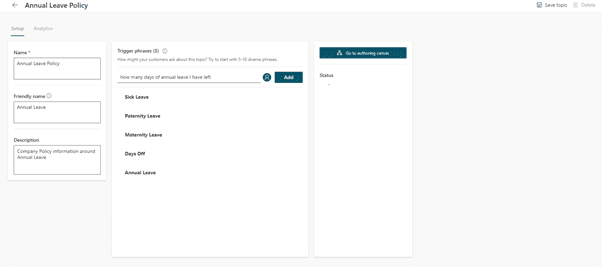
Here we simply add the triggering phrases. Those will help our bot identify the topic of conversation with the user. Once ready click on the "Go to authoring canvas" and we will continue building our bot from there.
The authoring is probably the most interesting and satisfying area to work in while building your bot. It shows a logical flow on how the conversation with the user will unfold. Hover around and see how you can add and delete steps, ask questions, call actions, navigate to other topics and eventually end the conversation.
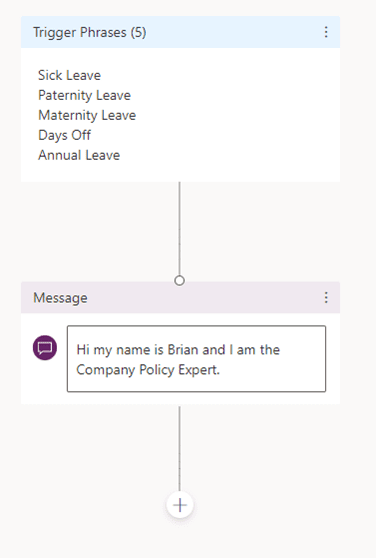
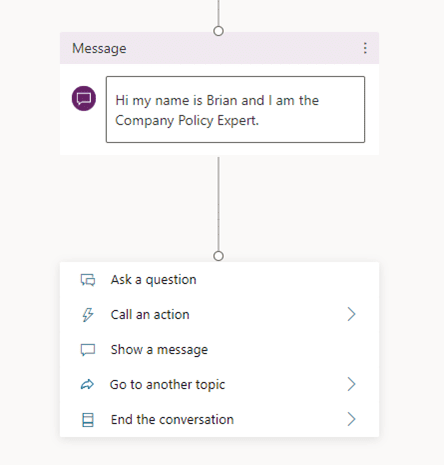
Let's start with populating the welcome message to the user as shown below. Once you've done that click on the plus sign just below the message.
Pressing the + button gives us further options on how to proceed. In this scenario let's ask the user about the type of policy we need to provide information about. So click on "ask a question".
In the below scenario we are simply asking the user a question about what type of policy we should provide information about. As you can see below, PVA automatically creates a branch for each of the possible answers we are expecting.
Note: That for this scenario we selected the "Multiple choice options" and provided those options below. In a real-life policy scenario you might have chosen another approach such as creating an entity with all possible leave options which, as we mentioned above will allow PVA to recognise that information more easily while in conversation with the user.
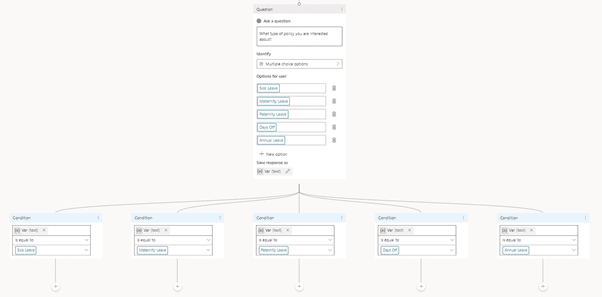
Now we are going to press on the + button under each condition and select the response we would like the user to get in each case. For this step go to each of the above conditions and add a simple message step with the number of days the user is entitled for each of the leave types.

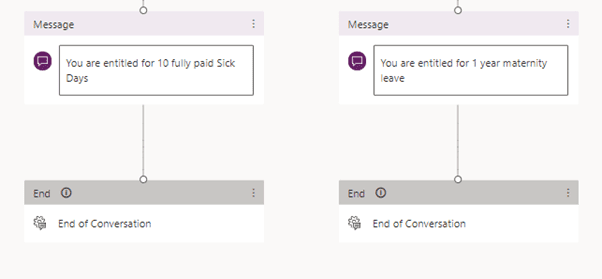
Finally, we are going to end the conversation with the user by clicking on the plus button under each message and pick "end the conversation" --> "end with survey". As you can see there is an option also to transfer this chat to a human agent who can pick it up to resolve any further queries. This typically happens in scenarios when the case should be escalated.

Instead of having a separate end step for each one of your final messages, you can hover over the small circle highlighted below and connect all message steps to a one "end conversation" step.
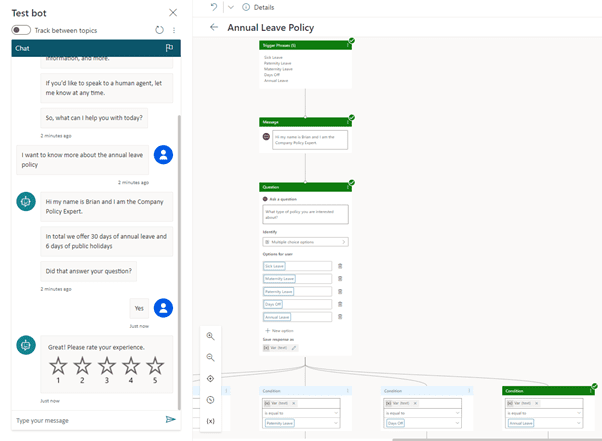
Eventually, your authoring canvas should look like the one in the image below. Now let's save the bot and test.

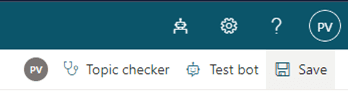
On the upper right corner of your screen you will find the Save button. Note that PVA also comes with a Topic Checker to help you improve the quality of your bot. Once saved, click on "Test Bot".
Once you click on it, you will notice the test bot popping out on the left side of the screen. Start by saying "hi" or directly go to the conversation about the annual leave policy. The great thing about this is that you can see the path your conversation is following while you are chatting to the bot. Eventually, you will see all the steps that you follow while chatting to the bot marked as green. This visualisation feature helps designers to improve the flow of the bot and make it more user friendly.
Conclusion
That's all for now; we hope you found this post informative and easy to follow. As you can see, Microsoft Power Virtual Agents is an extremely user friendly platform allowing users to build bots without writing code. In the next blog in this series we will discuss how we can publish those bots via channels, leverage Microsoft Power Automate and access our database to create a tailored user experience. Feel free to reach out if you are interested to learn more about this or you have scenarios you want to discuss. Till next time.